
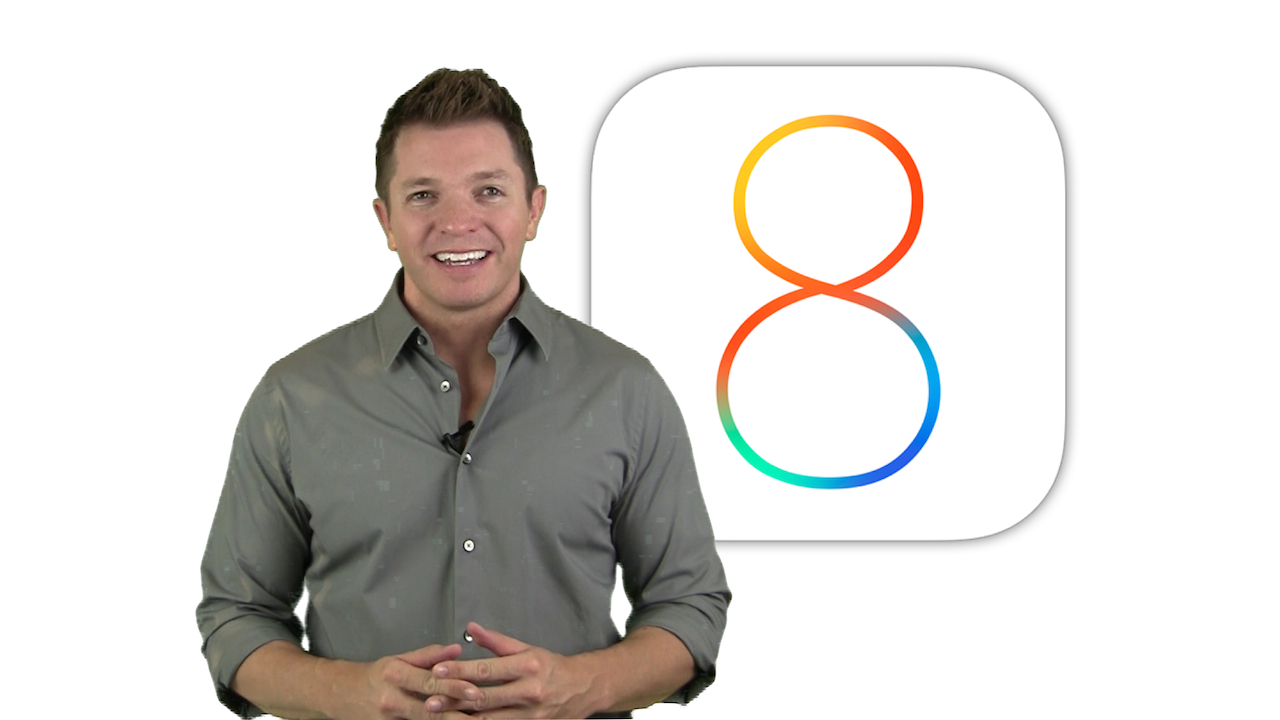
New in iOS 8 for Teachers & Students
Learning in Hand Show #28 is about some of what's new in Apple's iOS 8. Instead of showing you the major features you might already know about, I demonstrate the lesser known additions that teachers, students, and parents will be interested in.
Sorting, Labeling & Matching iPad Games
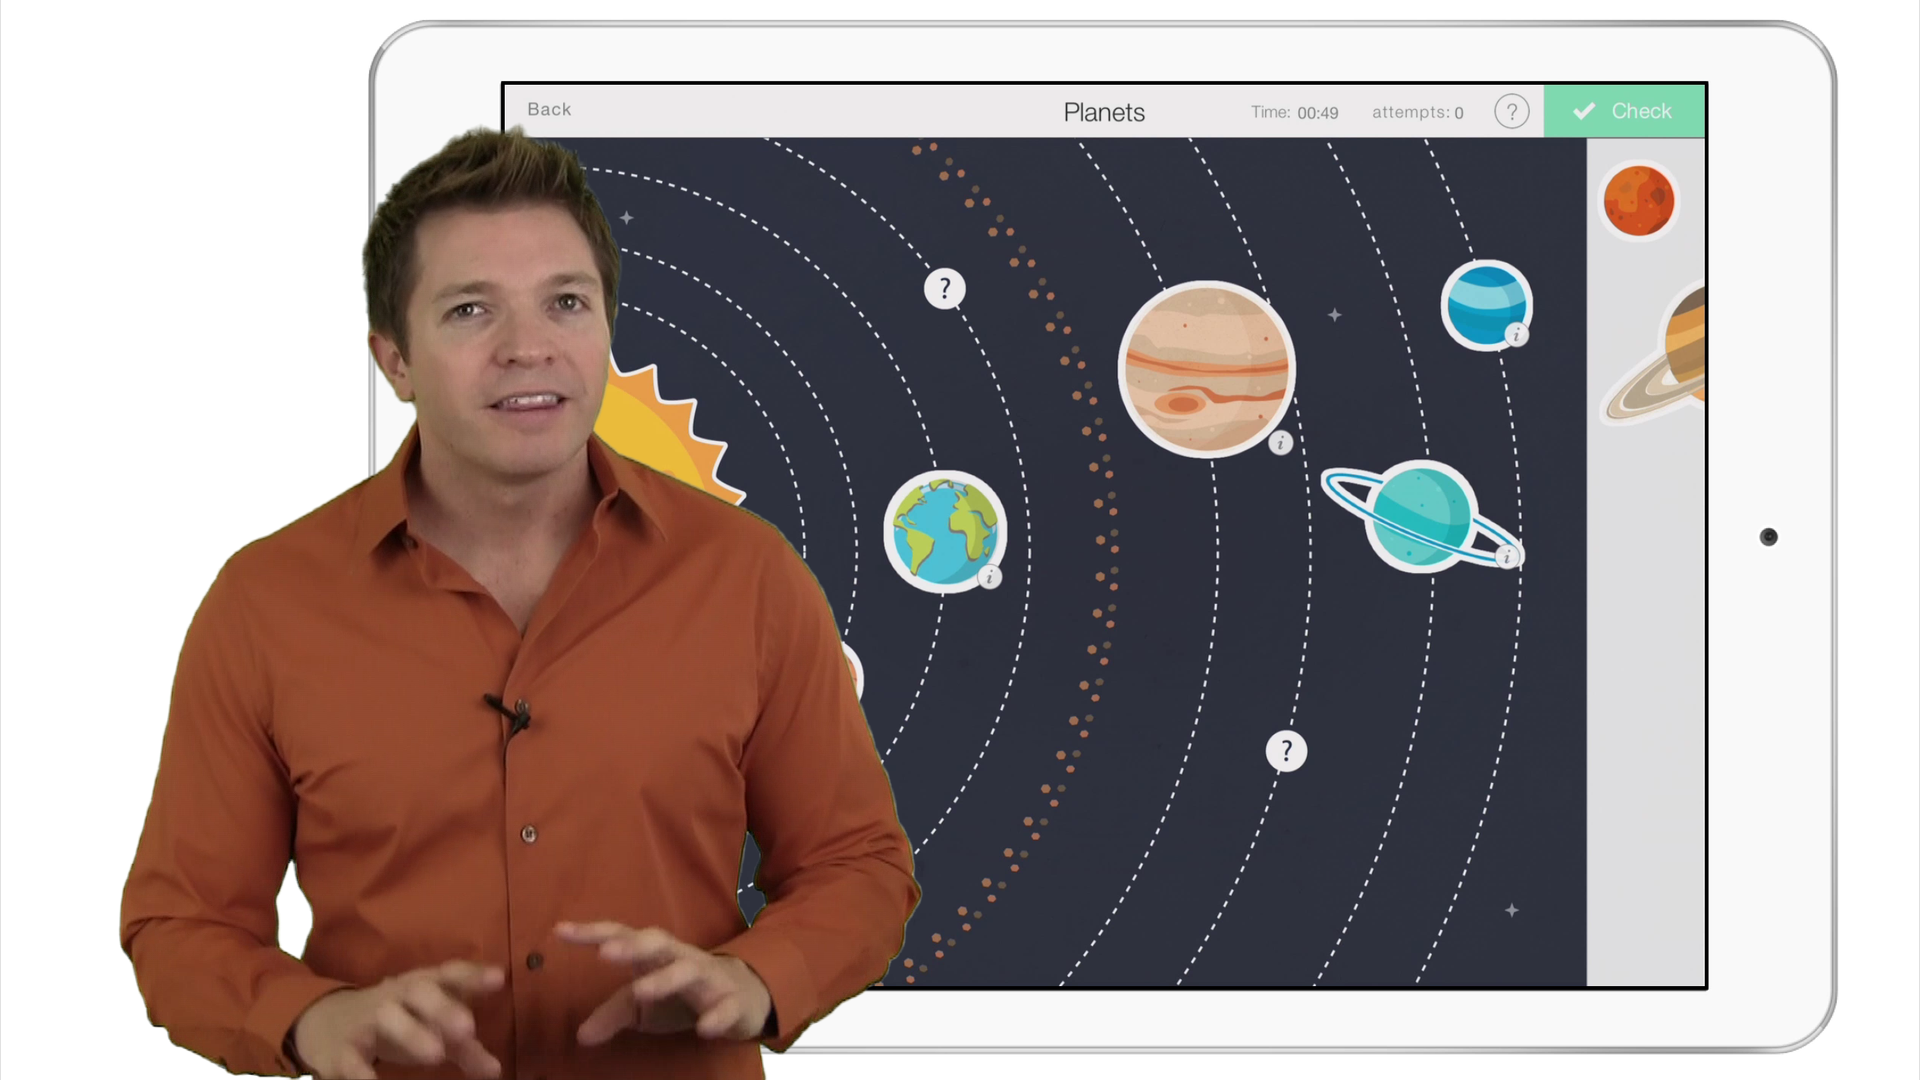
Learning in Hand #27 is all about the Stick Around app for iPad. The idea behind Stick Around is simple: players move stickers onto the correct spots on a background. The thing is, you not only use Stick Around to play these sticker puzzles, but you use it to create them as well! Watch the 9 minute video to get a taste of what you can create with Stick Around.
Communicate, Collect & Collaborate with Sticky Notes
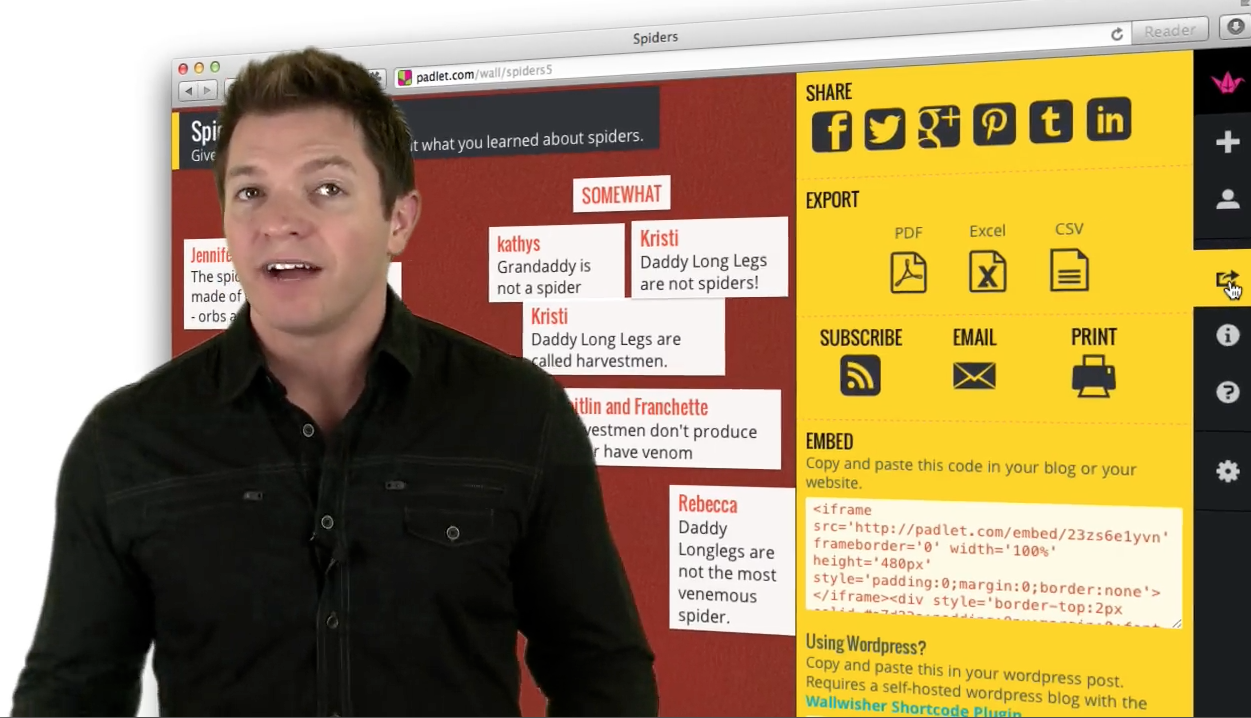
Padlet and Lino are the two best online sticky note services around. They are web-based and work great on iPads, PCs, Macs, Chromebooks smartphones, and tablets. Walls can be set up so that students can use them without logins or passwords, making them easy to infuse into lessons.

Introduction to QR Codes
Learning in Hand Podcast Episode #25: QR Codes is all about those two-dimensional bar codes that are popping up everywhere. QR codes have lots of uses for education, especially in classrooms where students are equipped with mobile devices.

Learning in Hand #24: Project Based Learning
Learning in Hand Podcast Episode #24: Project Based Learning demonstrates how iPad and iPod touch can can play a role in the the planning, research/investigation, and presentation of projects.